Select the device which you develop the application for:
We will learn how to:
- add a new scene to a game;
- change to another scene from a character description (.stt-file).
As an example, we will take ready project with the penguin. Start Game Pilot, select "Prepare demo project", then select the "11 Adding a scene" project. Open the project.
We have created a similar project in the Lesson 9.
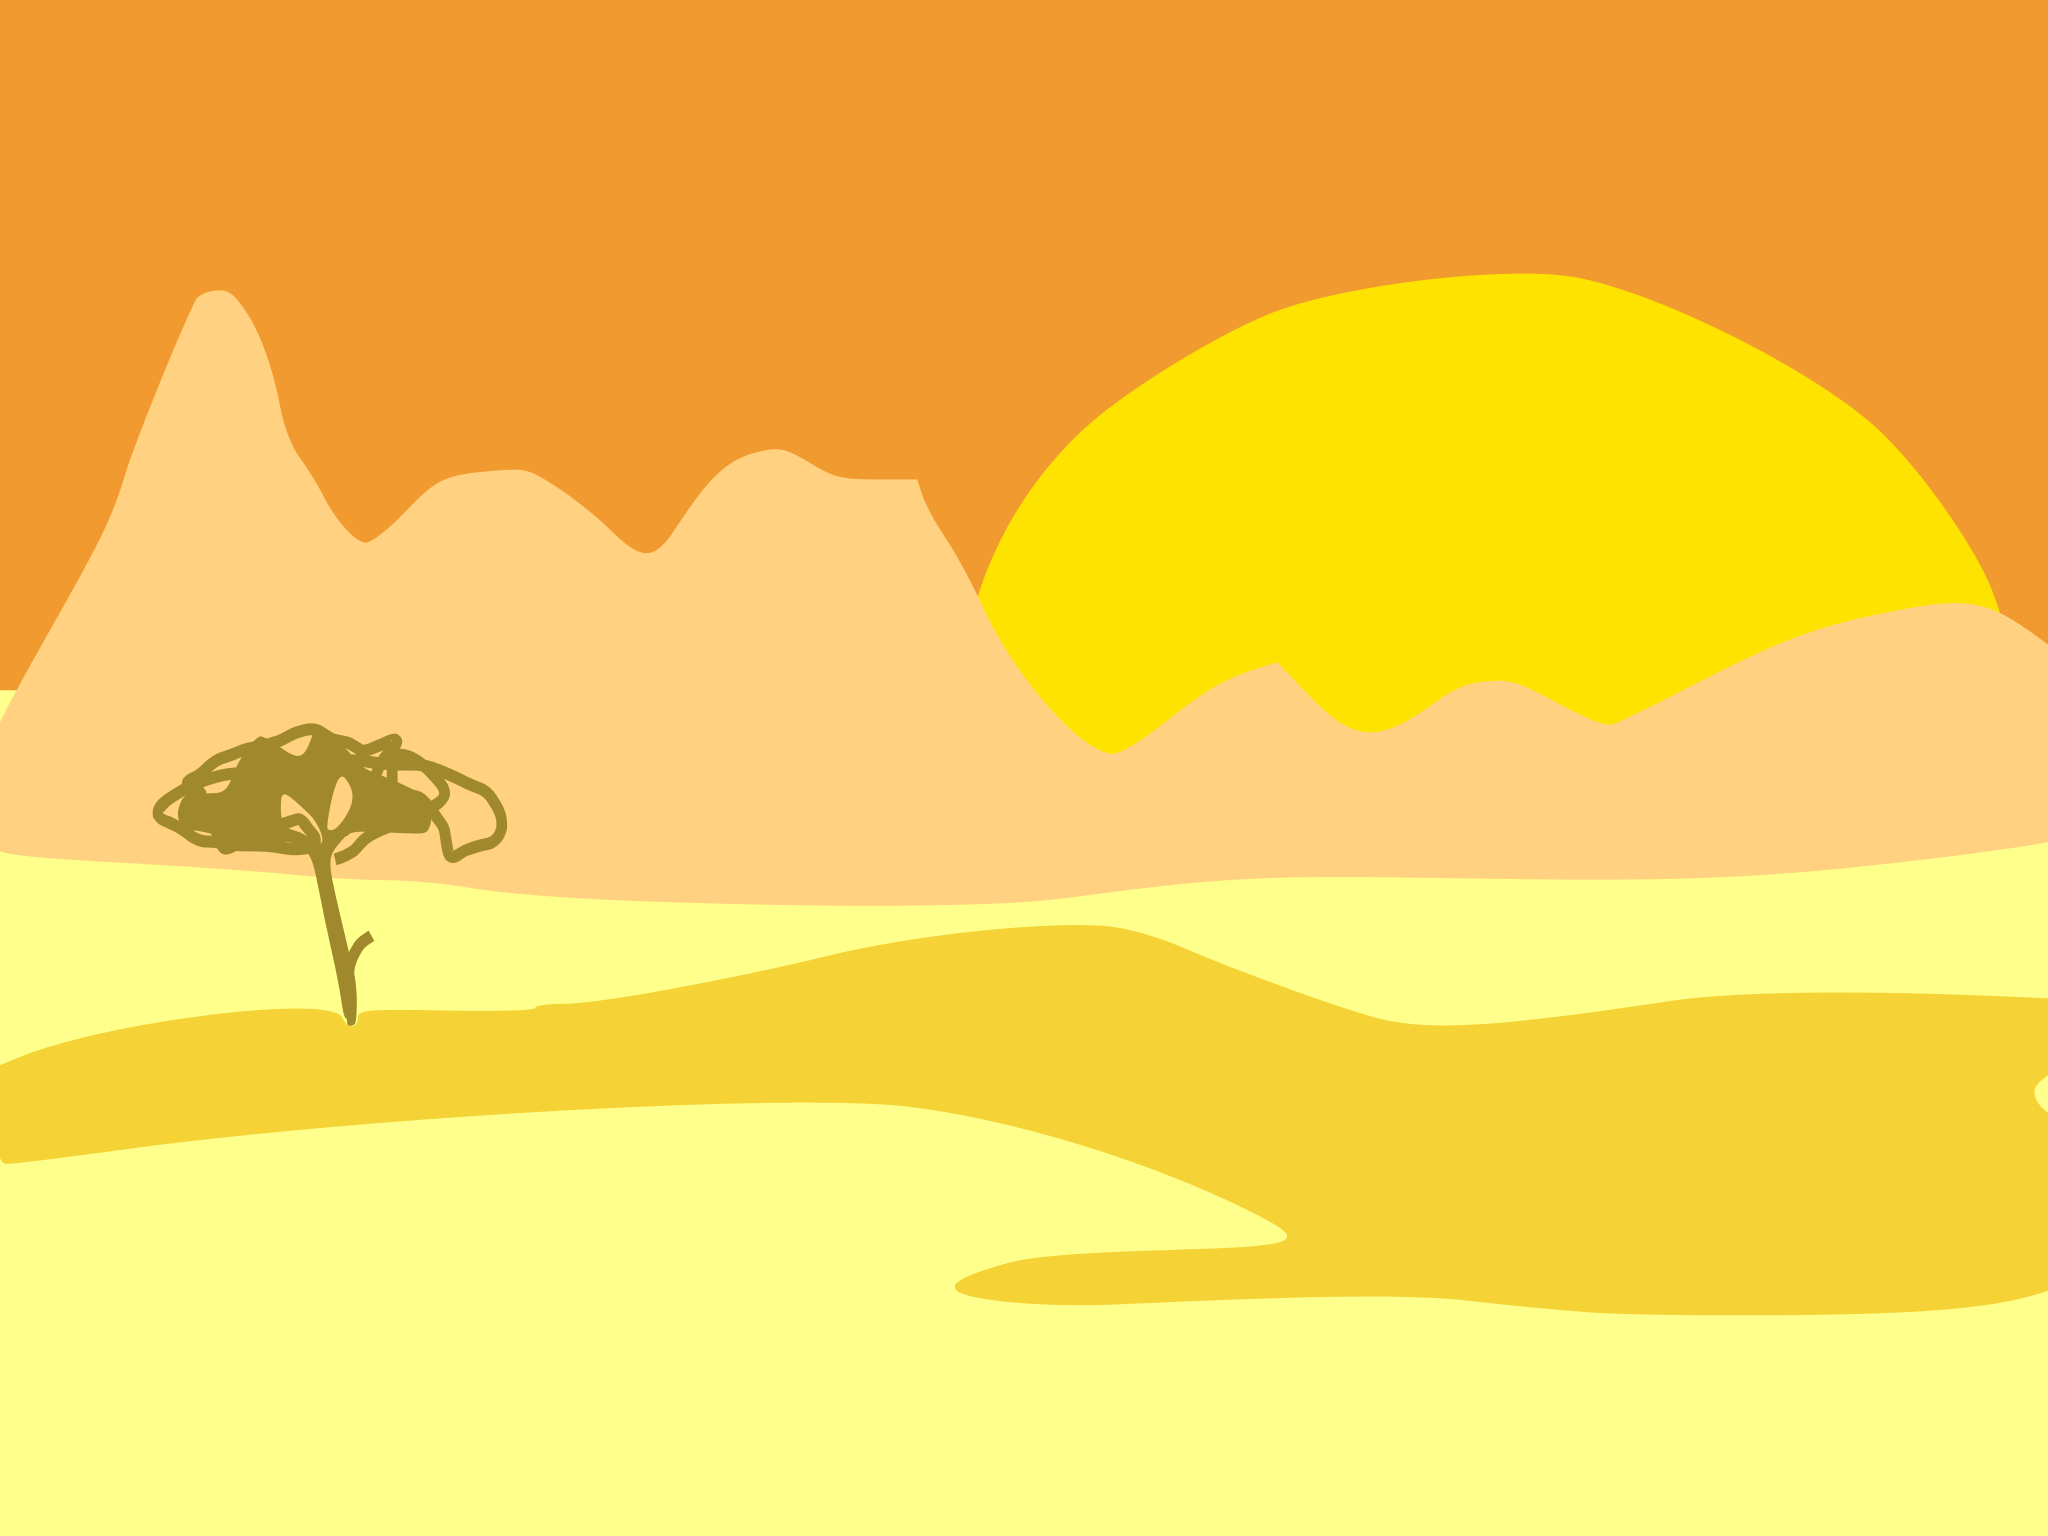
Let us imagine that the penguin came in Africa.
Task 1:
Download the background image BackgroundAfrica.png which you will need for the new scene.
Scene Start
Png(Background,,,1024,768)
Person(penguin,1, 483,308) // Penguin
HeadTouch=0 // Penguin does not shake his head
Scene Africa
Png(BackgroundAfrica,,,1024,768)
Person(penguin,1, 483,308) // Penguin
- - - - - CODE END - - - - -
The name of the new scene is Africa. The background of the scene is BackgroundAfrica. And the character that acts in the scene is penguin. The penguin stays in the middle of the scene.
Copy the changed file Lesson011.sc and the background BackgroundAfrica.png to your iPad and run the project.
We don't see the Africa scene. This is because we didn't make the change between the scenes yet.
We can make the change like this: when one touches the head of the penguin, the penguin begins to shake its head and then it appears in Africa.
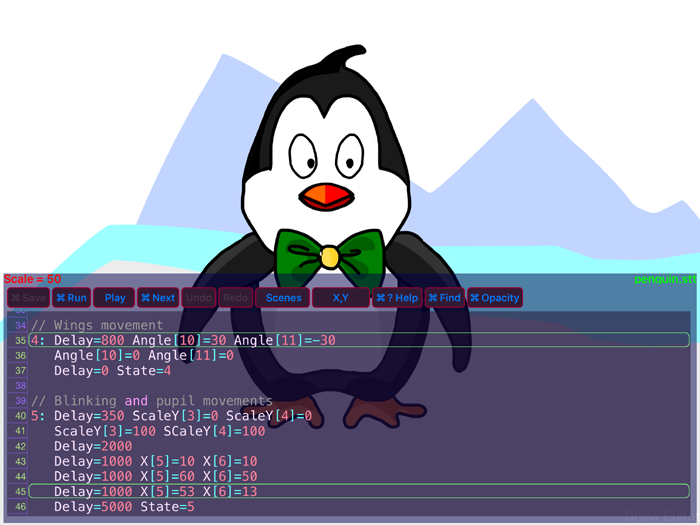
For this purpose, we will add a command at the end of the state 6 in the file penguin.stt (see the penultimate line):
// Head shaking

6: if TouchIndex<>2 Rest

   Delay=0 if HeadTouch=1 Rest // when the head is touched and it is shaking, ignore the next touches

   Delay=0 HeadTouch=1

   Delay=800 Angle[2]=-10

   Delay=800 Angle[2]=10

   Delay=800 Angle[2]=-10

   Delay=800 Angle[2]=0

   Delay=0 HeadTouch=0 // the head isn't shaking anymore, now you can touch the head again

   Delay=0 Scene=Africa

   Rest
Now, after we touched the head of the penguin and it shaked its head, we change to the scene Africa.
Task 2:
Add the string that allows to change the scene, to the project code.
Note that the penguin looks the same on the both scenes. It has the same size as well and makes the same movements. In the both scenes, we use the same character penguin.
Now, try to change the penguin on the Africa scene. Make it twice smaller and place it somewhere on the side.
We will still use the same file penguin.stt in the both scenes, but to make the character distinguish between the scenes, we will create a variable. We will change the value of the variable when the penguin changes to Africa scene.
We will add a general variable PenguinSize to the .sc-file. For each scene, we will set another value:
- - - - - CODE BEGIN - - - - -

// Lesson 11. Adding a new scene

Scene Start

PenguinSize=50

Png(Background,,,1024,768)

Person(penguin,1, 483,308)  // Penguin

HeadTouch=0 // Penguin does not shake his head

Scene Africa

PenguinSize=25

Png(BackgroundAfrica,,,1024,768)

Person(penguin,1, 483,308) // Penguin

- - - - - CODE END - - - - -
In the penguin.stt file, add the following line to the state 1:
Delay=0 Scale = PenguinSize
Thus, if the scene Start runs, the value PenguinSize=50. However, if the scene Africa runs, then PenguinSize=25, that means, the penguin is twice smaller.
The code of penguin.stt file could look like this (the added strings are highlighted):
// Head shaking
6: if TouchIndex<>2 Rest
Delay=0 if HeadTouch=1 Rest // when the head is touched and it is shaking, ignore the next touches
Delay=0 HeadTouch=1
Delay=800 Angle[2]=-10
Delay=800 Angle[2]=10
Delay=800 Angle[2]=-10
Delay=800 Angle[2]=0
Delay=0 HeadTouch=0 // the head isn't shaking anymore, now you can touch the head again
Delay=0 Scene=Africa
Rest
- - - - - CODE END - - - - -
Task 4:
Make the changes described above in the files Lesson011.sc and penguin.stt and run the project.
Now, we will try to place the penguin somewhere on the side and not in the middle of the screen like it is in the Start scene. For this purpose, we will just change the coordinates of the penguin character in the .sc-file:
- - - - - CODE BEGIN - - - - -

// Lesson 11. Adding a new scene

Scene Start

PenguinSize=50

Png(Background,,,1024,768)

Person(penguin,1, 483,308)  // Penguin

HeadTouch=0 // Penguin does not shake his head

Scene Africa

PenguinSize=25

Png(BackgroundAfrica,,,1024,768)

Person(penguin,1, 878,211) // Penguin

- - - - - CODE END - - - - -
Task 5:
Change the coordinates of the penguin for the Africa scene.
In the new scene, you can let the penguin move completely differently by adding new states in the penguin.stt file. You can use other characters as well (don't forget to add the new characters to the .sc-file).
Note that the PenguinSize value is a general value, because we added it to the .sc-file. Such values may be used by several characters if necessary.
